Inspiration
How to hang murals: 1838 Guide to Hanging a Wall Mural
How to hang mural wallpaper
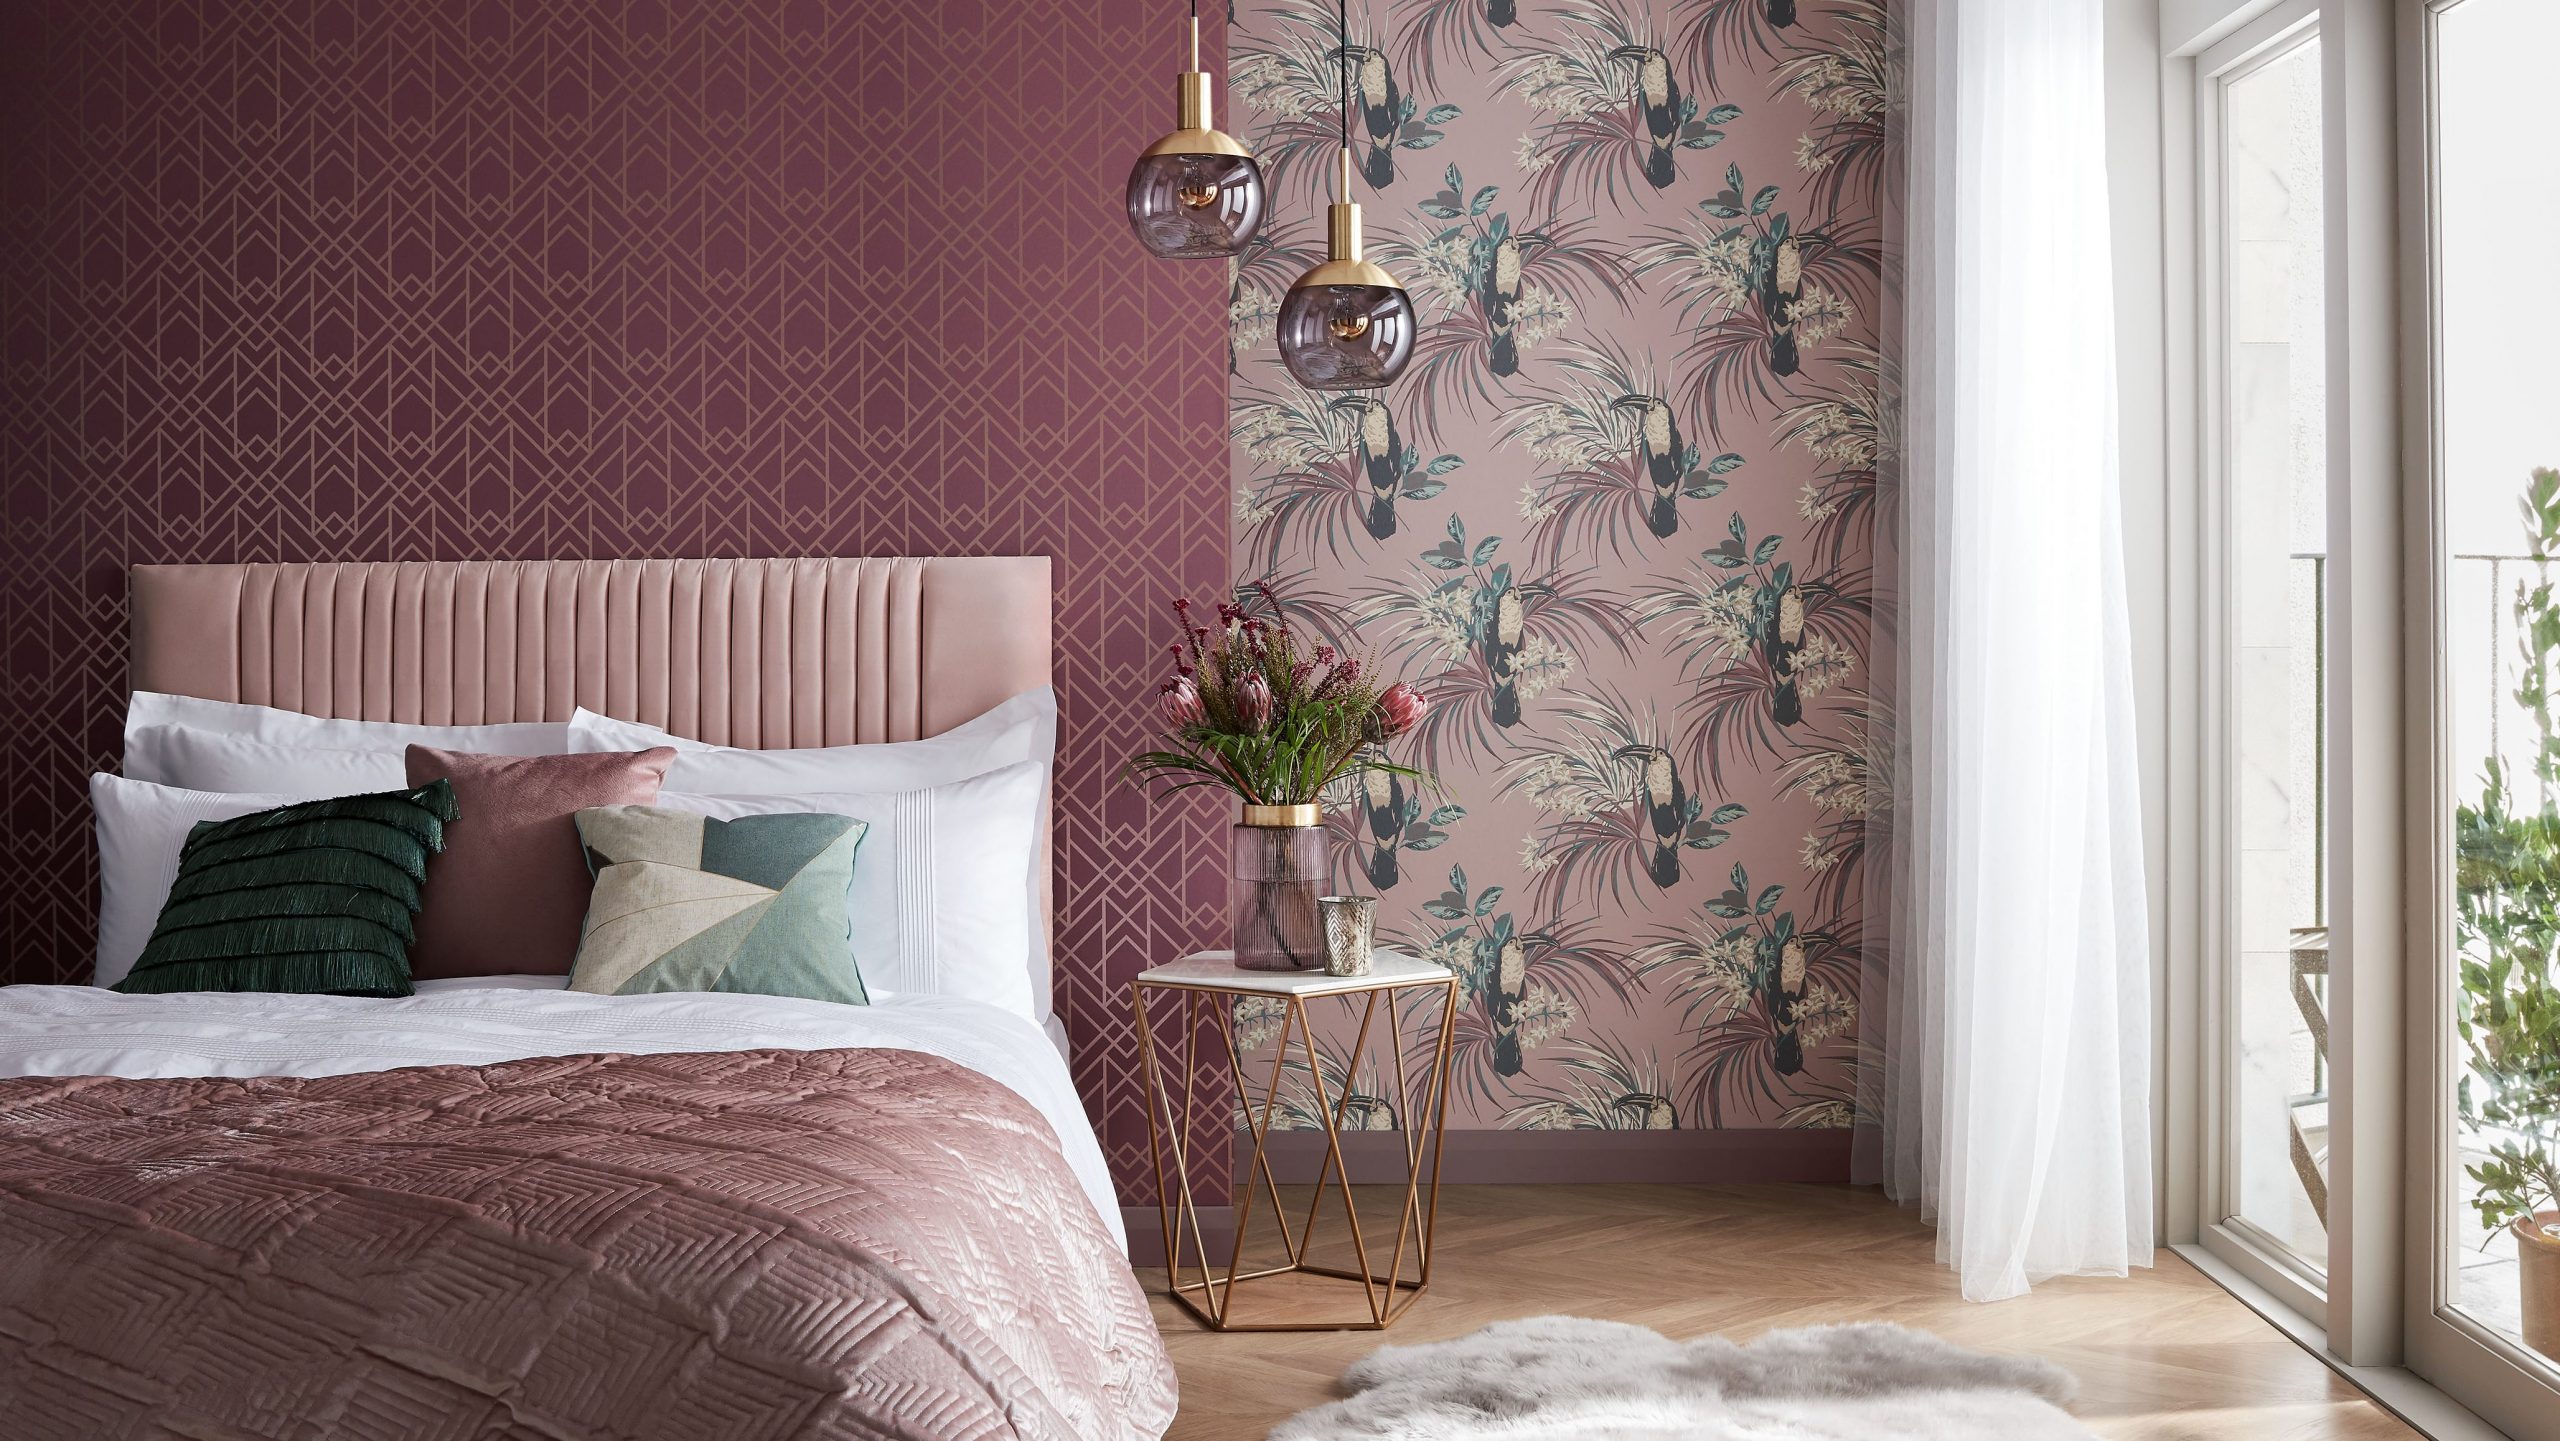
Murals are a fantastic way to add dramatic impact to your interior design scheme. From oversized florals and jungle scenes to large scale geometrics, murals create stunning feature walls. Before hanging your mural it’s important to Prepare your Walls in the same way you would do for hanging wallpaper. Then, once you’ve finished the prep, you’re ready to start the exciting installation of your new mural!
Watch our 2 minute How to hang a wall mural video showing the easy steps to install 1838 murals.
Here are the simple steps shown in our video for hanging 1838 paste the wall murals:
- Ensure wall is smooth and clean
- If not, add wall filler and smooth with sandpaper
- All our murals are 3m in height. If your wall is under 3m, decide to trim the top, bottom, or a bit off both for the look you want
- Always work from left to right
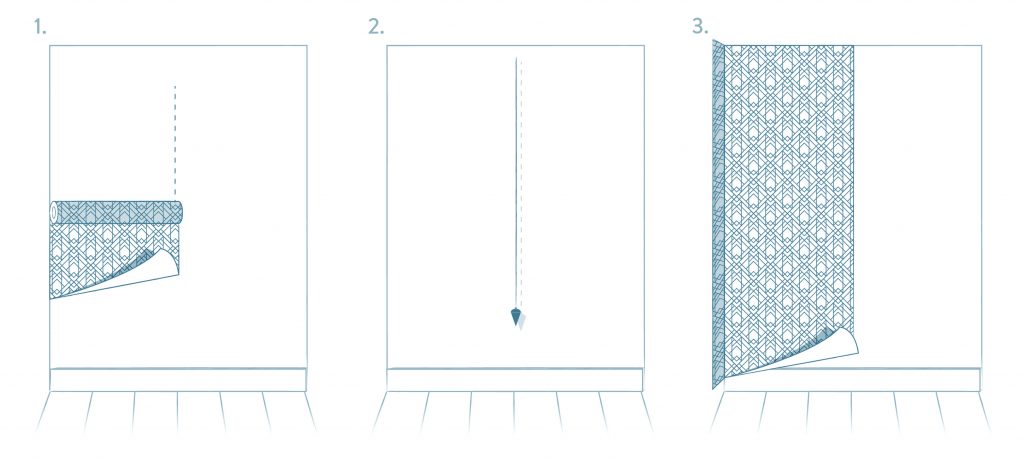
- Measure a plumb line a little less than the roll width
- Apply paste directly to the wall with the roller, pasting a little way over the plumb line
- Paste into the corners and edges with a brush
- Line up the right side of panel A with the plumb line and hang
- Smooth out towards the edges with smoother
- Trim the bottom, top and side with a knife
- Paste the next wall section to just over a roll width
- Match up the pattern on panel B with panel A and slide it into place
- If you get any paste on the front of the mural, wipe off with a clean, damp cloth
- Repeat for remaining panel drops
- All our murals repeat horizontally, so you can continue with more murals until you’ve covered the entire wall space
- Sit back and admire!
Tools needed for hanging murals
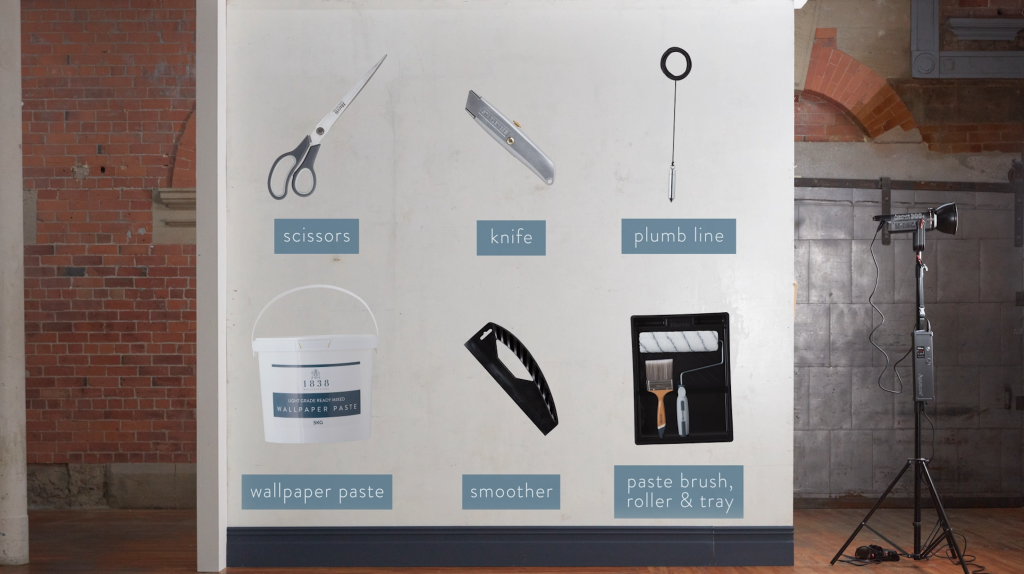
- Scissors
- Knife
- Plumb line
- Wallpaper paste
- Smoother
- For spreading the paste – a brush, roller & tray
And that’s it!
Where to start hanging a wall mural
Ensure your mural rolls all have the same batch reference. The batch reference is a letter and is shown on the roll label underneath the repeat information eg. Batch: B
There can be very slight variations of colour between batches, so it’s best to check your rolls all carry the same reference. This is also something we check before dispatching your order.
We always recommend starting at the left-hand corner of your wall and hanging your mural from left to right.
The only exception would be if you are creating a feature mural on a focal point like a fireplace wall. In this case you want to ensure the design is centralised, so start in the middle of the fireplace and work your way outwards from both sides.
How to hang a mural straight using a plumb line
A plumb line is simply a piece of string with a weight at the end, but it ensures the first drop of your mural is hung completely straight. To draw a plumb line:
- Hold your mural roll against the wall and mark a few centimetres less than the roll width.
- Using this mark, hold your plumb line level with it and mark a couple of other points down the string for the plumb line.
- You can now use these marks as a guide to line up the right edge of your first mural drop. The left side will need the excess few centimetres trimming off along the corner.
Your mural installation questions answered…..
1. Are murals difficult to install?
Installing wall murals is easy and they will transform how your room looks in no time. All our murals are paste the wall, so quick and easy to hang, and you install them in the same way as our wallpapers. Simply follow the steps in our video.
2. How to measure for a wallpaper mural
To work out how many mural rolls you’ll need, measure the height (from the top of the skirting board) and width of the wall you want to cover in metres. Do the same for any further walls you want to wallpaper and note the measurements down in metres eg.
Wall 1 = 2.10m wide by 2.80m high
Wall 2 = 1.90m wide by 2.80m high
Total wall width to cover = 2.10 + 1.90 = 4 metres
Most of our murals are 2.08m wide
Divide by width of 1 mural = 4 ÷2.08 = 2 murals rolls needed
3. How many mural rolls do I need?
Most 1838 murals are a standard size: 2.08m wide x 3m high. They are supplied in rolls with 4 panels per roll; panels A, B, C & D
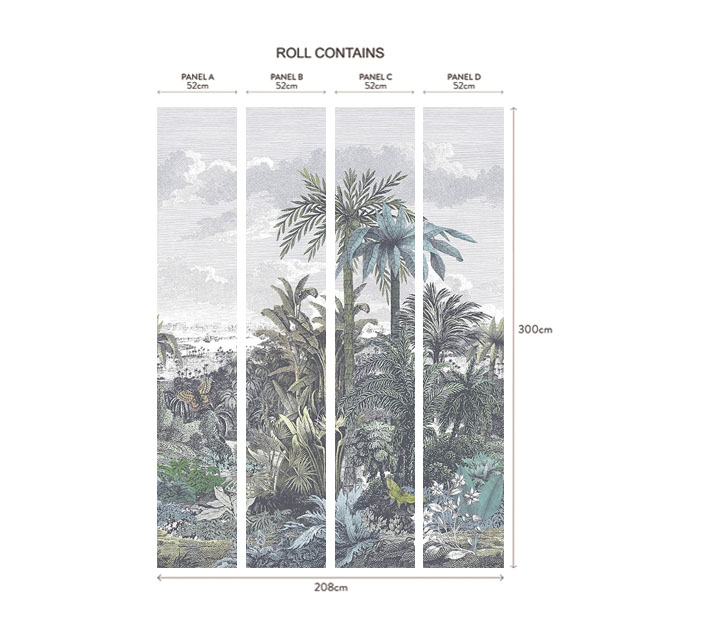
Each panel is 52cm wide and up to 3 metres high.
If your wall height is less than 3 metres, you can trim the mural at the top, bottom or both, depending on the look you want. Just as an example, for Paradise Found Mural you could trim a little from the clouds at the top, or from the plants at the bottom, or a bit from both.
If your wall is more than 2.08 metres wide, you can hang a second mural next to the first, as all our murals are specially designed to repeat horizontally. Simply continue with another mural roll in the same order; panel A, B, C then D until you’ve covered all the area you need to.
The only exception to our standard mural size are the 3 paper weave murals. These luxuriously textured paper weaves are 1.7m wide and 3m tall and supplied in 2 panels per roll A & B. Further details can be found on the Product Page for each mural.
4. Why hang murals left to right?
We’d always recommend starting at the left and working clockwise round the room, that is unless you’re creating a feature wall on a focal point like a fireplace, where you want the fire centralised. In this case, you’d start in the centre and work out to both sides.
5. Can you put a wall mural over wallpaper?
We would never recommend hanging a mural over old wallpaper, especially if your existing wallpaper is vinyl. However, if you want to try this over other types of wallpaper as a quick fix, make sure the existing wallpaper is smooth, untextured and fully adhered to the wall. Don’t forget to check that you can’t see the old wallpaper through the mural first!
We hope the video and tips have helped you get your mural project started. Happy Decorating!
If you haven’t already selected your new mural design, Shop Murals to browse the collection. You can order samples of every mural pattern to see and feel the fantastic special effects for yourself.
If you need any further advice on installing our murals, give us a call on 01254 397 631, or drop us an email to info@1838wallcoverings.com and one of the team will be happy to help.
Alternatively, if you simply don’t have any free time to wallpaper yourself, you could contact a decorator who’s a member of the Painting and Decorating Association. PDA members are experienced professionals who commit to the Association’s Code of Practice and are fully insured for your peace of mind. Enter your postcode in the Find a Painter & Decorator box at the bottom of their home page Painting & Decorating Association.
This information has been supplied in good faith, but without guarantee. Room conditions are beyond our control. It is the responsibility of the buyer to ensure the environment is suitable for mural wallpaper and that it is installed safely and correctly.

